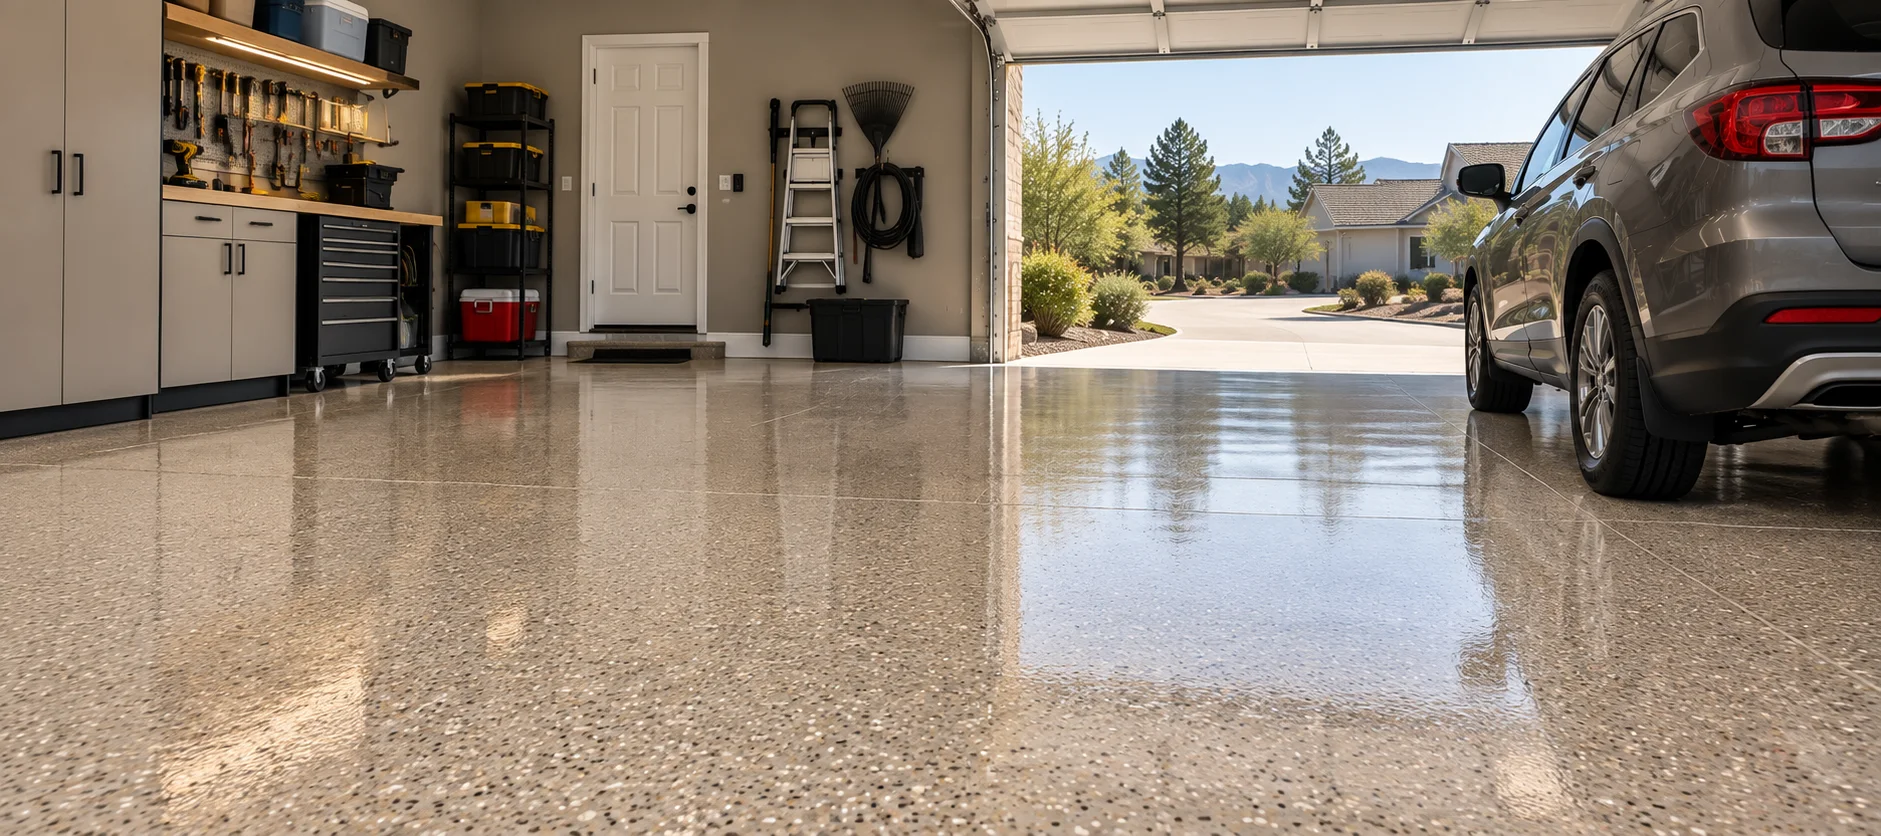
Epoxy garage floor installation, step by step
A professional garage floor coating is built in layers on concrete that has been inspected, cleaned, repaired and ground first. The prep you never see decides how well the finish you do see holds on.
Here is what a typical installation involves, what extra work your floor might need, and how long it takes before you can use the garage again.
The nine steps of a typical installation
This is an illustrative process. Installers and coating systems differ, so yours may use different layers or a different schedule. The order below is a good picture of what a complete job covers.
- 1. Measure and inspect
- What happens
- The installer measures the floor and looks over the concrete
- Why it matters
- The area and the slab's condition shape the system and the estimate
- 2. Check the slab
- What happens
- They evaluate moisture, existing coatings, cracks and contamination such as oil
- Why it matters
- Each of these can stop a coating from bonding if it is missed
- 3. Remove old coatings
- What happens
- Paint, sealers or coatings that will not work with the new system come off
- Why it matters
- A new layer can only hold as well as whatever it sits on
- 4. Grind the concrete
- What happens
- The surface is mechanically profiled, typically with a diamond grinder
- Why it matters
- Grinding opens the concrete so the base coat can grip it
- 5. Repair damage
- What happens
- Suitable stable cracks, pits and damaged areas are filled
- Why it matters
- Repairs give the coating an even, sound surface
- 6. Primer or base coat
- What happens
- The specified primer or base goes down, plus any moisture treatment the slab requires
- Why it matters
- This is the layer that bonds the system to the concrete
- 7. Flakes or finish
- What happens
- Decorative flakes are broadcast, or the chosen solid or metallic finish is applied
- Why it matters
- This sets the color and look of the floor
- 8. Protective topcoat
- What happens
- A compatible clear topcoat seals the finish
- Why it matters
- The topcoat takes the daily wear, stains and tire traffic
- 9. Final inspection
- What happens
- The installer checks the finished floor and gives you care and return-to-use instructions
- Why it matters
- Following those instructions protects the floor while it cures
Compare systems on the epoxy and polyaspartic pages, and see the cost guide for how each step shows up on a quote.
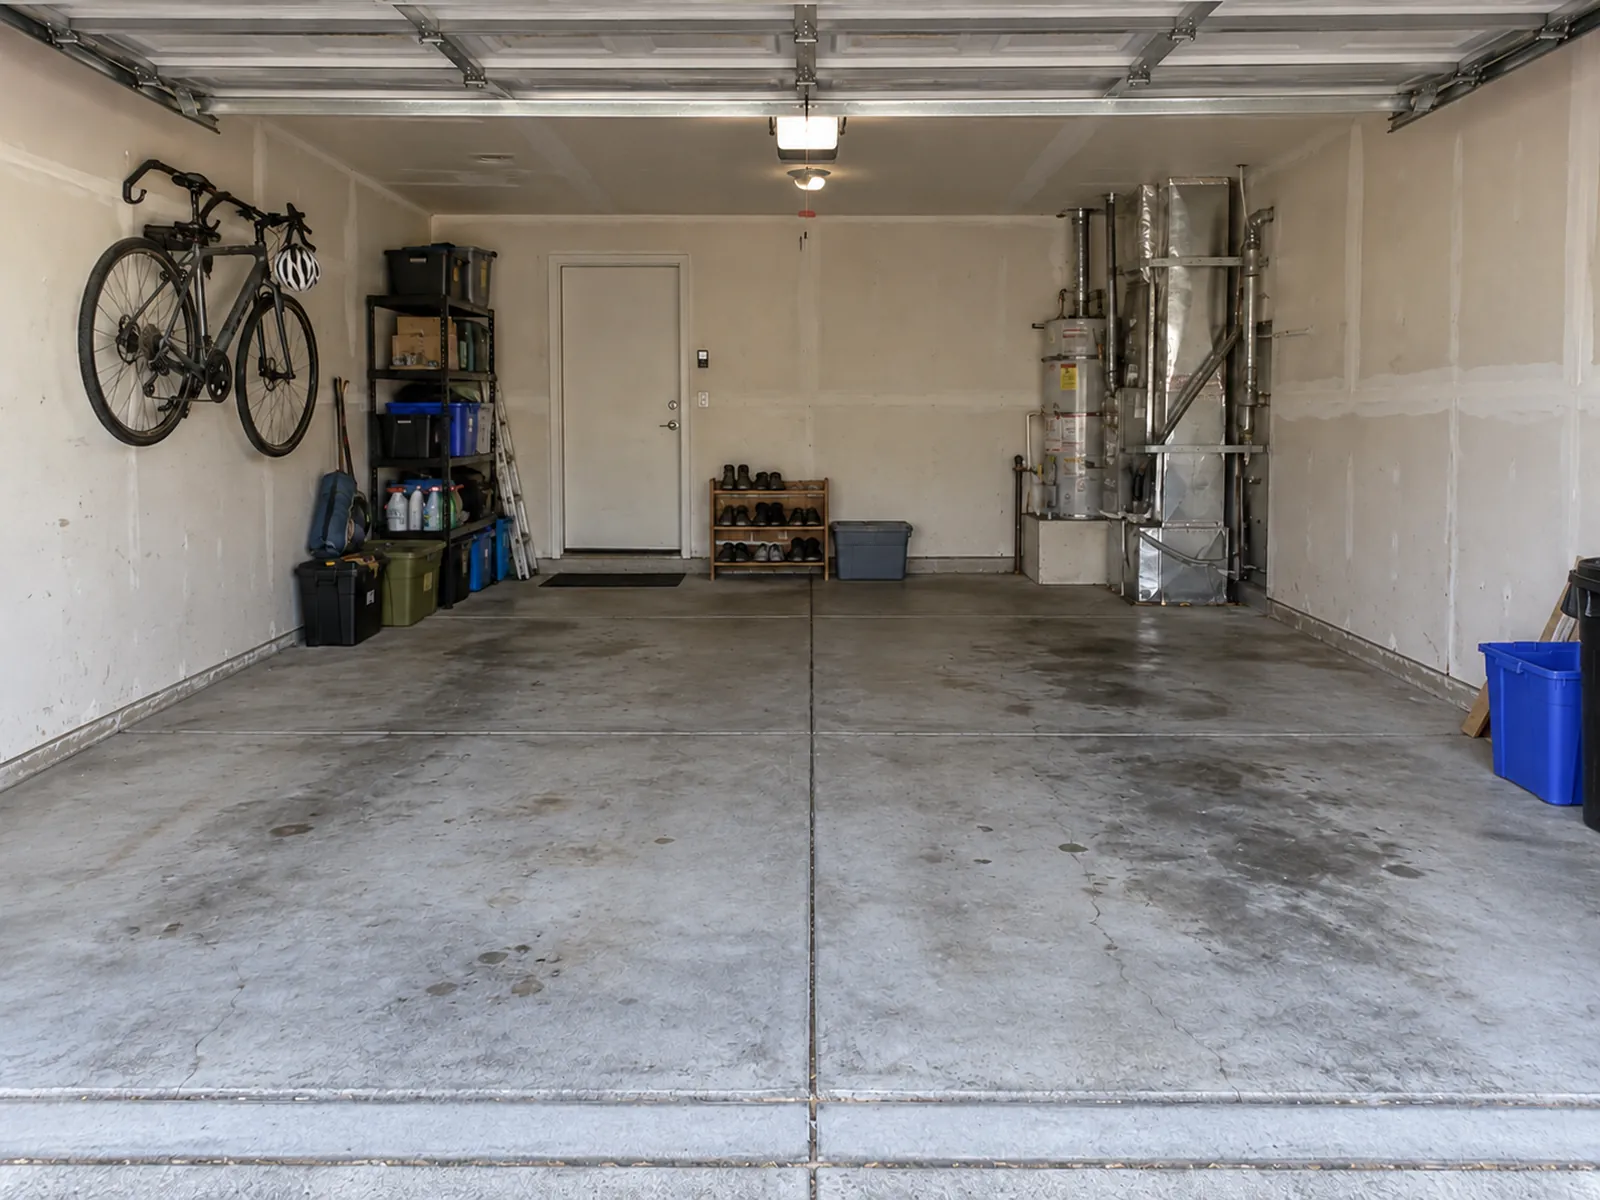
Preparation is part of the job
Grinding the concrete and treating moisture when the slab needs it belong in the main service. They are what let the coating bond, so a quote that leaves them out to look cheaper is leaving out the part that holds the floor together.
Professional systems are built on ground concrete in several layers. That is a different product from a thin floor-paint kit rolled onto a swept slab, and the prep is a big reason why. You can read how the materials compare on our epoxy garage floors and polyaspartic garage floors pages.
- Ask which prep method the estimate includes
- Ask whether a moisture check is part of the inspection
- Ask how the installer handles any problem found once work starts
Extra work that can add cost
Some floors need more than the standard prep. When yours does, the work is required for the coating to hold, and the installer should explain why and quote it before installation begins. See our garage floor coating cost guide for how this affects the total.
- Old coating removal
- Why it's needed
- A new coating bonds poorly to failing or incompatible layers
- How it's handled
- Quoted before installation
- Extensive crack, pit or spall repair
- Why it's needed
- Heavy damage takes more filling and leveling than standard prep covers
- How it's handled
- Quoted before installation
- Oil contamination
- Why it's needed
- Oil soaked into the concrete can stop the coating from sticking
- How it's handled
- Quoted before installation
- Moisture mitigation
- Why it's needed
- Moisture coming up through the slab can lift a coating
- How it's handled
- Quoted before installation
- Other prep beyond the standard scope
- Why it's needed
- Some slabs have conditions that need their own fix
- How it's handled
- Quoted before installation
Not every floor needs every item. The installer decides what applies after inspecting your slab.
What a coating can't fix
A garage floor coating protects and finishes the surface of the concrete. It does not repair problems underneath or around the slab.
If your slab is moving, water is getting in, or the floor drains poorly, those need their own evaluation and repair. A decorative coating will not settle an active moisture problem or hold a shifting slab together, and coating over them can lead to cracking, bubbling or peeling.
- Structural movement and active cracks
- Drainage problems
- Water intrusion into the garage
Timeline and return to use
Some systems allow one-day installation. Repairs, moisture treatment and other systems can take longer. Once the floor is down, there are four separate milestones. The installer's written instructions tell you when each one is reached for your system.
- Installation complete
- What it means
- The last coat is applied and the installer has finished
- What to do
- Keep off the floor until you're told otherwise
- Foot traffic
- What it means
- You can walk on the floor
- What to do
- Walk gently and hold off on moving heavy items back in
- Vehicle traffic
- What it means
- You can drive and park on the floor
- What to do
- Wait for the time in your written instructions
- Full cure
- What it means
- The coating has reached its full hardness
- What to do
- Follow the care instructions for cleaning and use
Cure times vary by system, temperature and humidity. Always follow the installer's written instructions.
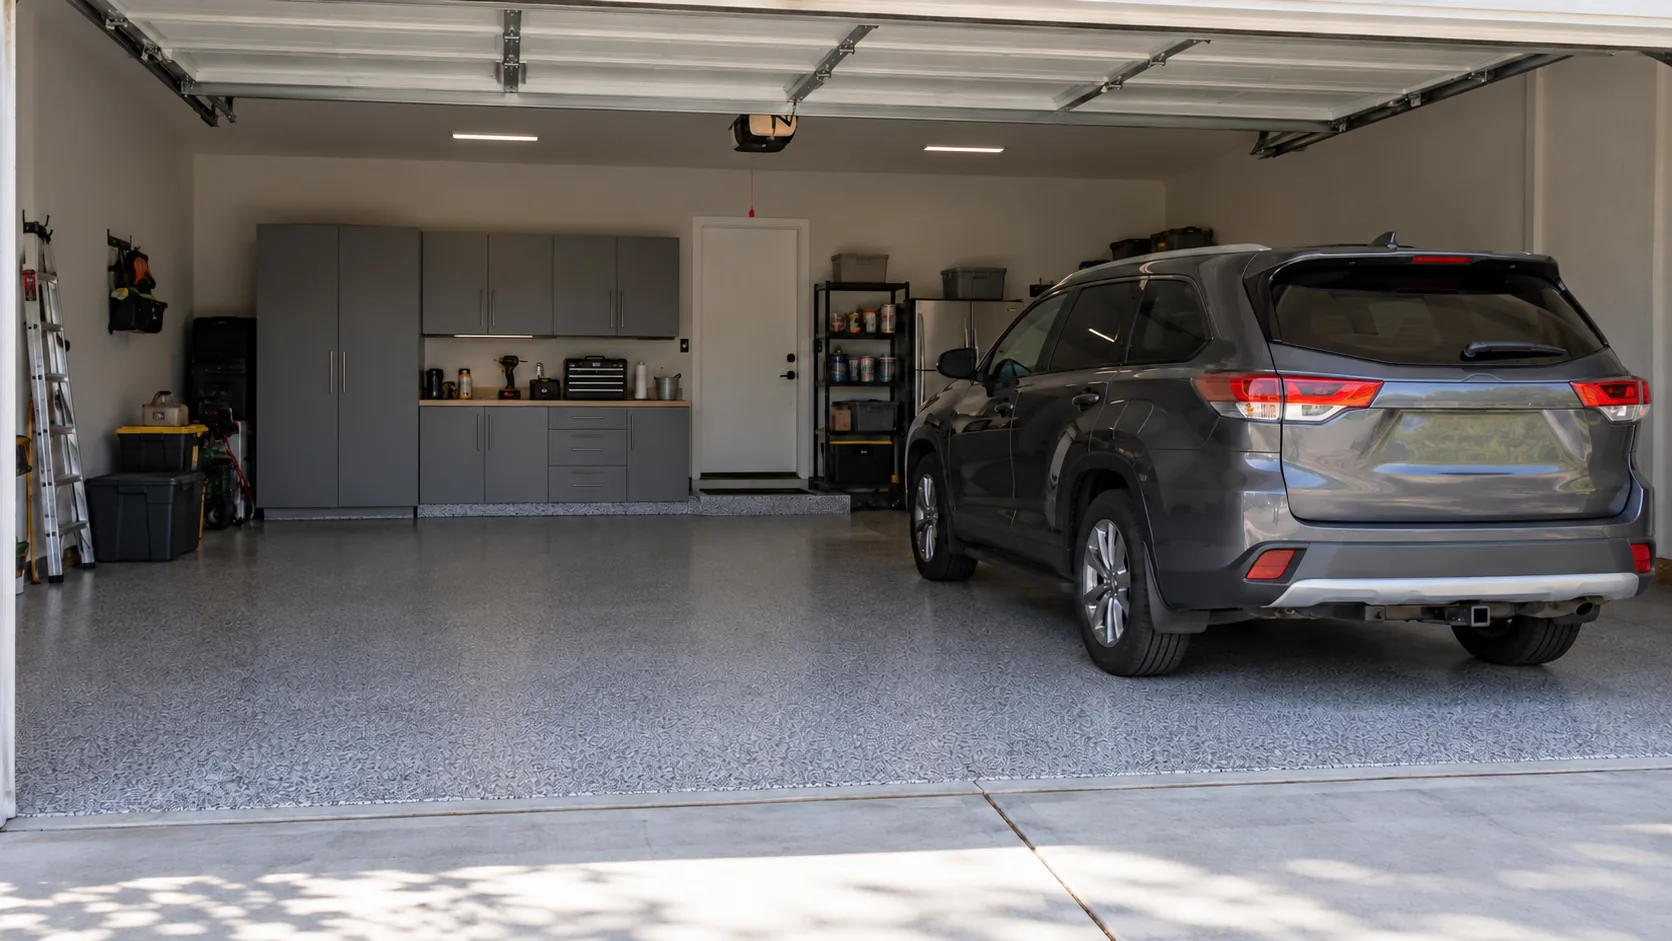
How to get ready
Plan to clear the garage completely so the installer can reach every part of the floor. Ask whether moving or storage help is offered in your area.
Before you agree to a date, get the scope in writing so you know exactly what the price covers.
- Clear the work area, including shelves and items along the walls
- Ask what prep and repairs are included
- Ask which layers, finish and topcoat the system uses
- Ask about cleanup and anything the estimate excludes
- Ask for the return-to-use and care instructions in writing
- Ask what the installer's warranty covers and excludes
Installation questions
How long does installation take?
Some systems allow one-day installation. Repairs, moisture treatment and other systems can take more time. Your installer can give you a schedule after inspecting the floor.
When can I walk or park on the new floor?
Installation complete, foot traffic, vehicle traffic and full cure are different milestones. Follow the installer's written instructions for each one.
Can cracks be repaired before coating?
Many stable surface cracks, pits and chips can be repaired as part of prep. Structural movement and active cracks need a separate evaluation.
Will the expansion joints disappear?
Not necessarily. Joints that let the slab move may need to stay working, so the installer may leave them open or treat them in a way that allows movement.
Can a new coating go over old epoxy?
The installer has to check how well the old coating is holding and whether it works with the new system. Failed or incompatible coatings may need to be removed first.
Can new concrete be coated right away?
The concrete's age and moisture have to meet the requirements of the system being installed. Ask the installer what your slab needs before it can be coated.
Does a coating waterproof the garage?
No. A protective coating does not provide structural waterproofing or stop water from getting in. Those problems need their own repair.
Do I need to empty the garage?
Plan to clear the work area. Ask whether moving or storage help is offered where you live.
Have a local pro look at your floor.
Tell us your ZIP and garage size. We will connect you with a local installation professional who can inspect your concrete and quote the work it needs.